
1. Initial Installation
- Install OW Sync - Numerik Connector from the official installation flow. On the OW Sync landing page, open the "Search for your ERP..." dropdown and select Numerik ("Two-way sync between Numerik & HubSpot"), then click Log In with HubSpot.
- (If a teammate has already set up the account and invited you, use Invited to a team? Log in with email instead.)
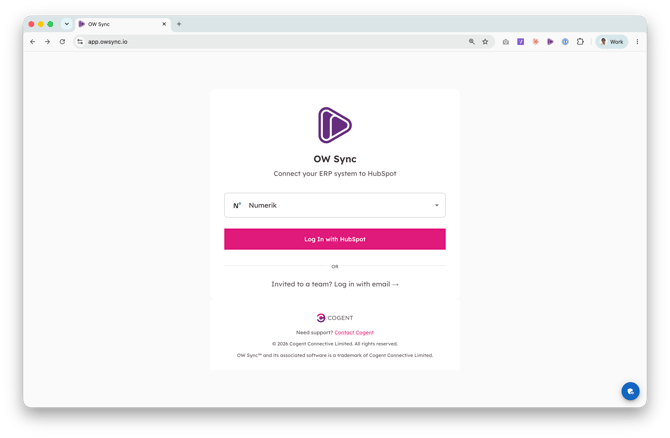
- (If a teammate has already set up the account and invited you, use Invited to a team? Log in with email instead.)
- Select your HubSpot account from the list. We recommend testing on a sandbox or test account before deploying to production.
- Review the permissions required — these include access to your companies, contacts, and their property schemas — then click Connect app to proceed.
2. Account Setup
After connecting, you'll be guided through a setup wizard.
- Select Billing Contact: Choose a portal user who will be the primary billing contact for this account from the dropdown, then click Continue.
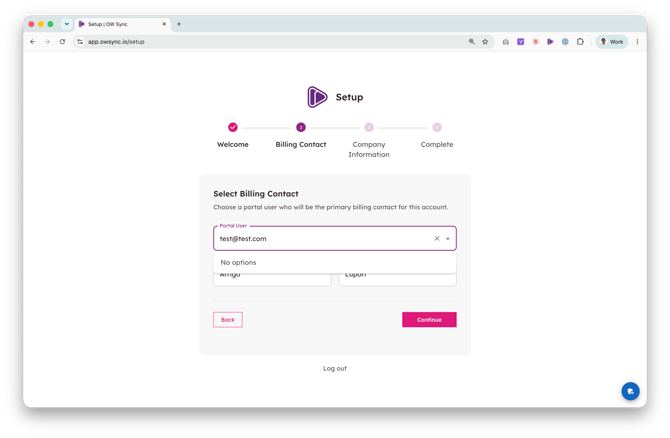
- Company Information: Enter your billing company details including domain, legal company name, street address, city, state/county, postal code, and country. This information will be used for invoicing. Click Continue to proceed.
3. Connect Numerik
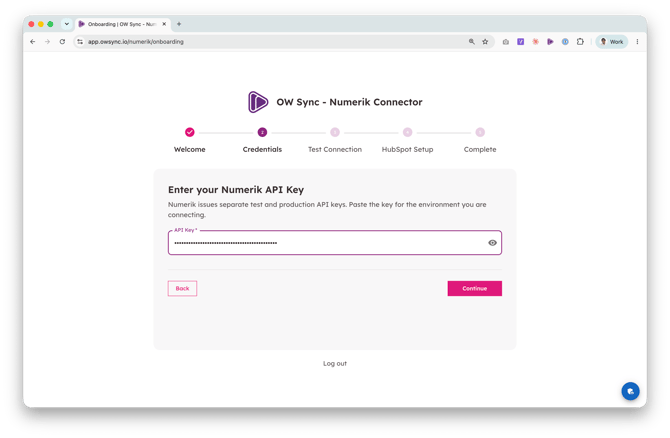
Unlike connectors that require OAuth, Numerik authenticates through a simple API key. Your access is granted securely – keys are stored encrypted and refreshed automatically.
4. HubSpot Setup
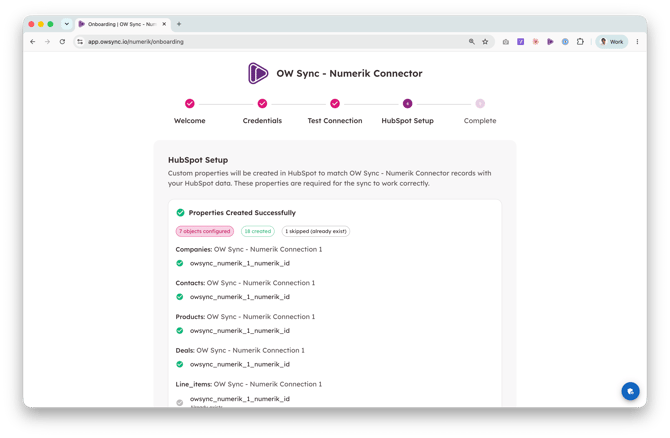
- Click Create Properties to proceed. OW Sync will create and manage the custom properties for your Numerik sync pairs automatically.
5. Finish Onboarding
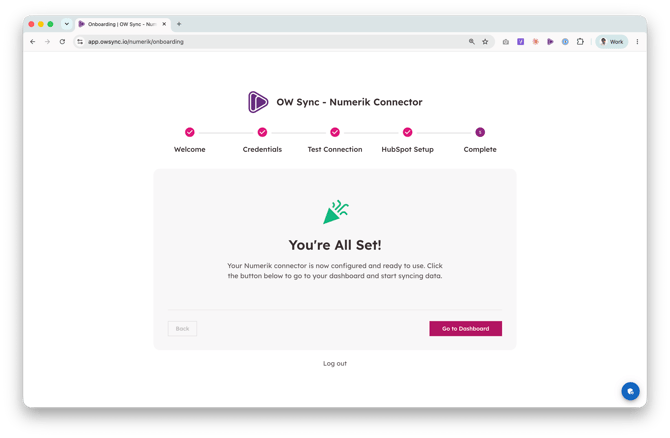
- Once properties are created, you'll see the All set! screen confirming your Numerik connector is configured and ready to use. Click Go to Dashboard to enter the app.
6. Review Your Sync Configuration
- After onboarding, you'll land in the OW Sync app. The Mapping page shows your pre-configured sync pairs. For Numerik these are set up for you and run automatically.
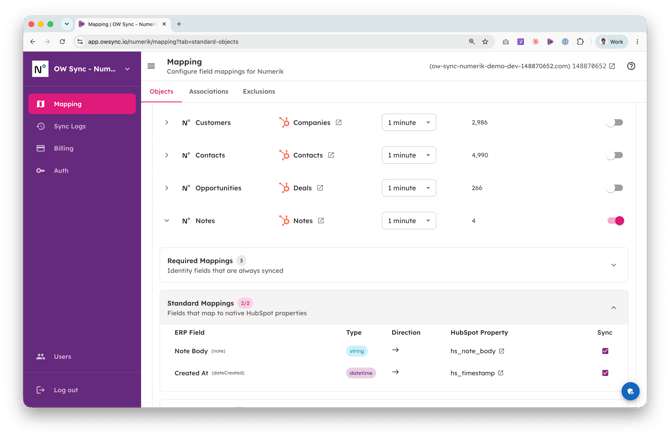
- Each pair syncs from HubSpot into Numerik on a recurring hourly schedule.
7. Review Sync History
- Navigate to Sync Logs in the left sidebar to view synchronization history.
- The first sync will begin shortly after onboarding completes. Subsequent syncs run automatically on a recurring schedule.
8. Verify in HubSpot
- Once the sync completes, navigate to your HubSpot Notes (or Tasks, depending on your setup) and Numerik itself to verify the customer, contacts, and opportuntities.
- You should see records with all mapped fields populated in HubSpot, and Numerik data being populated directly from HubSpot.
This guide will be updated with new functionality, object types, and synchronization options as they become available. Visit the OW Sync website for the latest features, or contact the Cogent team with any questions not covered here.